AstroBin is the home of astrophotography - Share full resolution images, preserve acquisition details, discover equipment, discuss techniques, and learn from the community.Discover AstroBin

Feedback from C9.25 XLT + Starizona SCT Corrector IV + APS-C users: poor corner stars

20 replies336 views
Marc Bonnet avatar

Hi everyone!

I'm looking for feedback from people using a Celestron C9.25 with the Starizona SCT Corrector IV and an APS-C camera.

After spending a considerable amount of time optimizing my setup, I'm still struggling to achieve acceptable corner stars. I've carefully adjusted the backfocus, investigated tilt, rotated the camera train, and checked everything else in the imaging chain, but none of this significantly improved the corners.

Before I spend more time chasing something that might simply be an optical limitation, I'd like to know whether other users with the same configuration manage to get clean, well-corrected corners across an APS-C sensor. If you use this combo, I'd really appreciate100% crops of all four corners, along with your backfocus and any relevant details.

Thanks in advance!

Marc

Well written Respectful Concise Engaging
Tony Gondola avatar

With a diagonal on the chip of 28.7mm, you are a bit outside the advertised design image circle of the corrector which is 27mm. Depending on how loose they are with the definition it could be that stars in the extreme corners of your image circle are starting to degrade.

How bad are your corners?

Well written Helpful Concise Engaging
YingtianZZZ avatar

I’ve used C925 with Starizona with 268M. It do give sharp stars in the corner, but not very comparable to APOs. In this setup, corner stars are enlonged directing to the center, but since in my place light pollution is so severe so I just crop them all. Can you share a sample so we could check the actual star shapes? I think I got about 90.5mm back focus in total.

Lynn K avatar

I have this set up, but I use it for galaxies at a dark site. I don't need the wide field of my QHY268, so I use a CCD SX694 with 4.5 nm pixels. Much smaller chip also.

Those stars were pretty good and BlurX will take care of the rest.

It doesn't take much camera tilt to get wacky corner stars. If there is no tilt then the corner star distortion should be similar.

Lynn K.

Helpful
skyzorg avatar

I have a C925 XLT with starizona IV corrector and imx571 sensor. I’ve only had the starizona for a few months but I find it a lot better in the corners than the standard celestron 0.63x reducer — the old reducer was pretty much unusable with the APS-C sensor, unless you use a whole lot of AI star correcting/deconvolution.

Images with the starizona still aren’t perfect; stars are still a bit elongated in the corners, possibly indicating not enough backfocus. Mine is around 90mm but I haven’t measured it exactly, or tried with going longer. Brighter stars near the corners can look pretty distorted.

Below links are a couple of my better shots with the setup, with minimal cropping, and no star sharpening or deconvolution applied:

https://app.astrobin.com/u/skyzorg?i=d6uduk
https://app.astrobin.com/u/skyzorg?i=8h82ts

Well written Helpful Respectful Concise Engaging
Marc Bonnet avatar

Thank you all for your feedback.

I understand that achieving good corner performance with the Starizona SCT Corrector IV and an APS-C sensor is probably a bit ambitious.

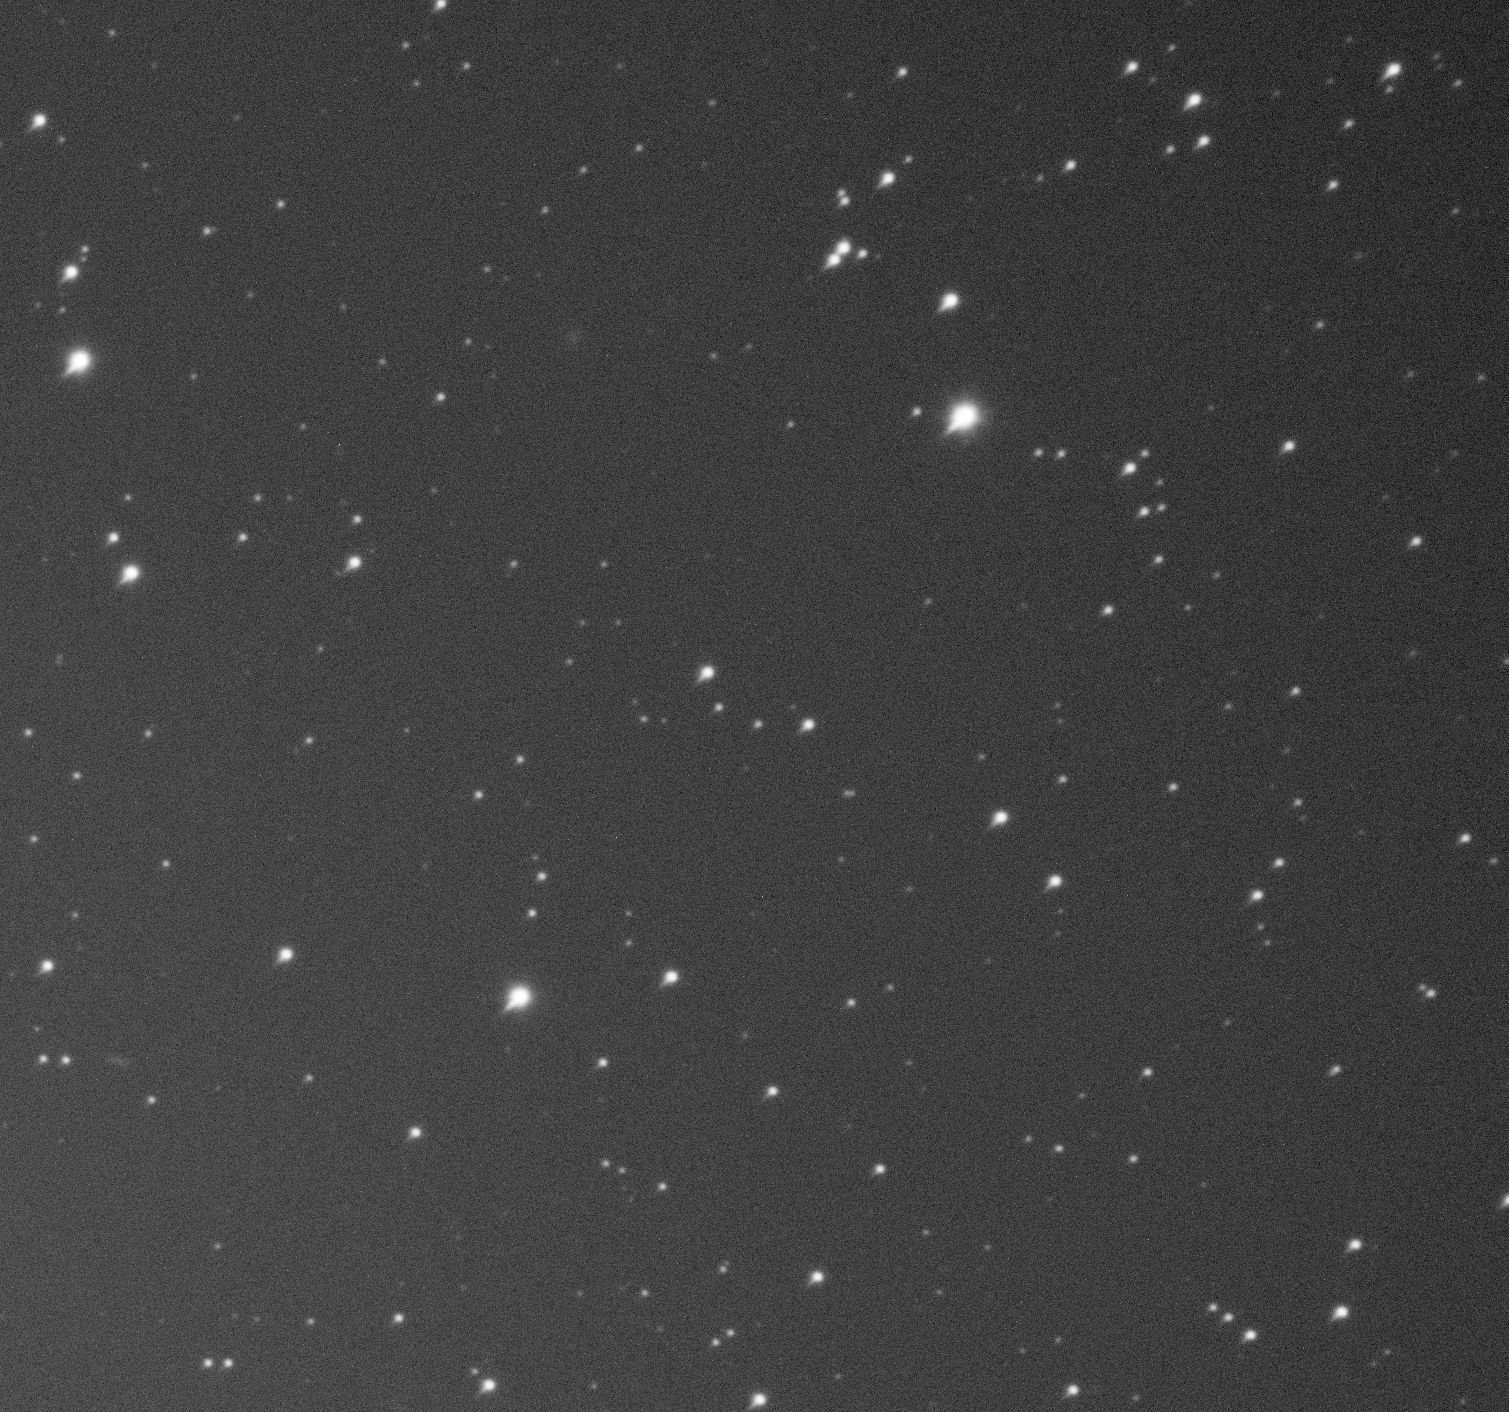
I've attached three subframes analyzed with Aberration Inspector.

As you can see, the corner stars are quite poor.

Of course, for small targets, after cropping and using BXT, I'm very happy with the results. However, it's disappointing not to be able to take full advantage of the entire field of view.

If any of you have untreated subframes, I would really appreciate it if you could share them, as final processed images rarely reflect the actual capture quality.

AberrationInsp1.jpg

AberratoionInsp1.jpg

Abinsp2.jpg

Or could this simply be sample variation? How consistent are these reducers?

Well written Respectful Engaging
Tony Gondola avatar

mmmmm, have you really refined your collimation?

Marc Bonnet avatar

Tony Gondola · Aug 1, 2026 at 02:47 PM

mmmmm, have you really refined your collimation?

Marc Bonnet avatar

Yes, I regularly do planetary imaging sessions and always pay close attention to collimation, so I think it’s quite good.

Well written Respectful
Tony Gondola avatar

Well, the optical center isn’t in the center of your aberration inspector image and I don’t think it’s tilt.

Lynn K avatar

I think of it this way. If the sensor is too close, the corner stars will point towards the center. If the sensor is to far, the corner stars will be elongated perpendicular to the center.

Now, imagine one corner of the chip to close with stars pointing to the center and another sensor corner to far with perpendicular elongated stars.

That's what a non-orthogonal chip will result in. When one is pushing the optics to maxium performance. I think the first step is to get the sensor chip as orthogonal as possible.

I have fought with tilt for years from CCD to CMOS. Looking at your images , it appears that the top of the chip is too close. the botton is in focus.

I have found the Astroprecision with laser and software is the best solution to correct tilt. It also alows you to use an imaging train while doing in daytime. You will still need some sort of tilt adjuster.


Astroprecision

https://www.astroprecision.no

Lynn K.

Helpful
Stellar Nomads avatar

check your spacing between the corrector and your camera’s chip.

Marc Bonnet avatar

Thanks everyone for your valuable feedback!

I’ll keep investigating. I completely understand that my setup is probably still not fully optimized.

My next step will be to revisit the tilt, perhaps with the help of the Wanderer Astro ETA if I eventually get tired of the manual adjustment process. I’ll also check the collimation again, although I’m a bit less suspicious of that at the moment.

The entire imaging train is fully threaded, but it’s also quite heavy (Starizona reducer, ZWO OAG-L, 7×2” filter wheel, and ASI2600), so a small amount of flexure or tilt seems plausible.

I’ll let you know if I finally manage to solve the problem.

Thanks again, and clear skies!

Well written Respectful Concise Supportive
YingtianZZZ avatar

Marc Bonnet · Aug 1, 2026, 10:42 PM

Thanks everyone for your valuable feedback!

I’ll keep investigating. I completely understand that my setup is probably still not fully optimized.

My next step will be to revisit the tilt, perhaps with the help of the Wanderer Astro ETA if I eventually get tired of the manual adjustment process. I’ll also check the collimation again, although I’m a bit less suspicious of that at the moment.

The entire imaging train is fully threaded, but it’s also quite heavy (Starizona reducer, ZWO OAG-L, 7×2” filter wheel, and ASI2600), so a small amount of flexure or tilt seems plausible.

I’ll let you know if I finally manage to solve the problem.

Thanks again, and clear skies!

I think 7×2’’ filter wheel is a little too much for 2’’ tube, this may cause some drops. If possible, you could try 7×36mm filter wheel and filters instead.

Well written Helpful Respectful Concise
YingtianZZZ avatar

Marc Bonnet · Aug 1, 2026, 12:45 PM

Thank you all for your feedback.

I understand that achieving good corner performance with the Starizona SCT Corrector IV and an APS-C sensor is probably a bit ambitious.

I've attached three subframes analyzed with Aberration Inspector.

As you can see, the corner stars are quite poor.

Of course, for small targets, after cropping and using BXT, I'm very happy with the results. However, it's disappointing not to be able to take full advantage of the entire field of view.

If any of you have untreated subframes, I would really appreciate it if you could share them, as final processed images rarely reflect the actual capture quality.

AberrationInsp1.jpg

AberratoionInsp1.jpg

Abinsp2.jpg

Or could this simply be sample variation? How consistent are these reducers?

I think this looks like typical star shapes I got, especially you are using APSC sensro and really pushing the original C925 to the limit. Don’t be too panic, just crop some and use AIs, they’ll handle well. And if you really want the larger FoV, just go with a F/4 Newts or save some money for the EdgeHD, I’ve heard EdgeHD 925 will support up to full frame but I’ve never had a chance to try it.

Concise Supportive
Marc Bonnet avatar

Hey everyone,

A warm thanks for your help once again. After many iterations and quite a bit of trial and error, I think I have finally managed to get a decent result across the APS-C sensor. I’ve attached a single 180 s exposure together with an Aberration Inspector view.

Abinsp.jpg

📷 Abinsp.jpgAbinsp.jpg
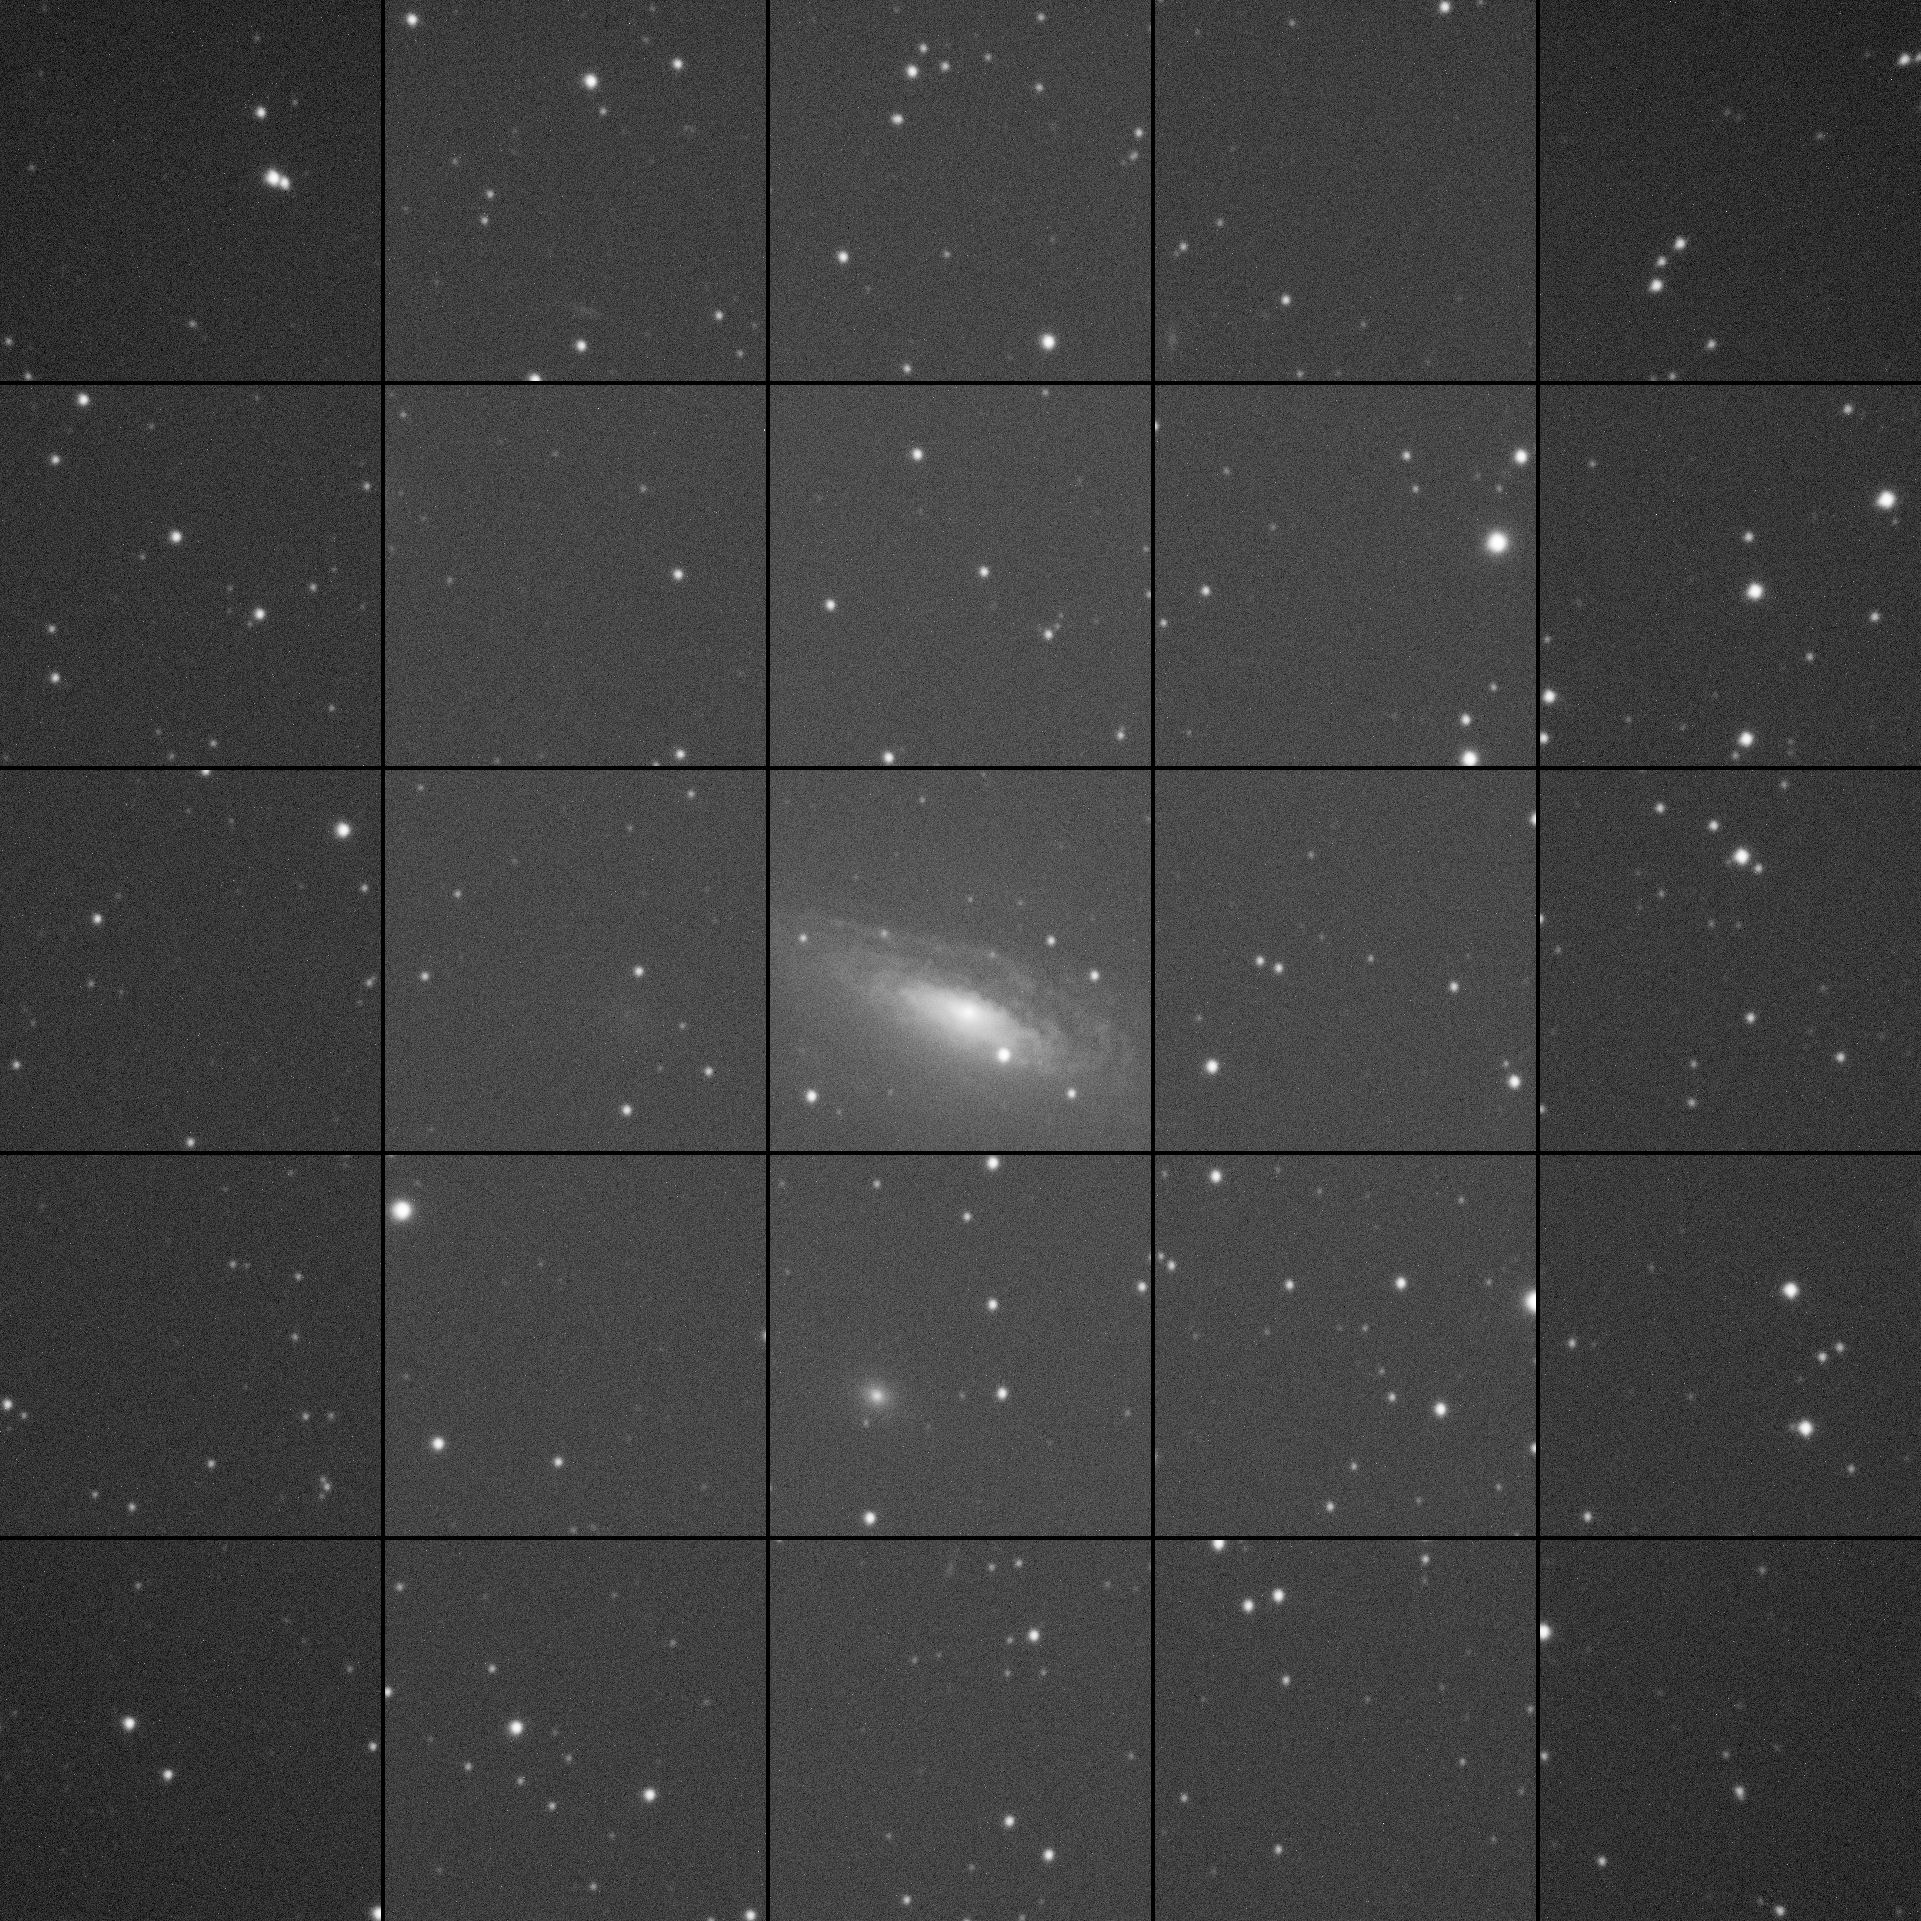
Here is some feedback from my experience:

1/ Backfocus was the main issue.

As suggested by some of you, the aberration pattern initially looked very much like the sensor was too far from the corrector, despite my imaging train being set close to the theoretical 90.3 mm backfocus.

I progressively shortened the spacing and eventually found a sweet spot with a nominal mechanical backfocus of approximately 83 mm, based on the sum of the individual components:

20 + 5 + 0.8 + 2 mm spacers/adapters + 5 mm tilt plate + ZWO OAG-L + EFW + ASI2600MM (without the original ZWO tilt plate).

I was not able to directly measure the complete imaging train with sufficient accuracy, so this value is based on the nominal thickness of each individual component. Nevertheless, the overall spacing is clearly significantly shorter than the recommended 90.3 mm.

I would be very interested to know whether anyone else using the Starizona SCT Corrector IV has had a similar experience and ended up with an optimal spacing significantly shorter than the theoretical backfocus.

Collimation was also checked during the process and was found to be acceptable, so I did not make any further adjustments.

2/ A very interesting point for Celestron users: the dew-heater ring.

Despite the considerable improvement obtained by correcting the backfocus, on some nights I was still seeing rather unpleasant asymmetrical spikes/distortions around the stars.

I initially suspected the remaining backfocus error and changed the spacing again, but this made essentially no difference.

Eventually, I turned the Celestron dew-heater ring down to its minimum setting — and the spikes simply disappeared.

This was quite a surprise. I assume that thermal effects from the heater ring were somehow inducing a local deformation or thermal gradient affecting the optical path. In any case, this may be worth keeping in mind for Celestron users seeing unexplained asymmetric star shapes while using the heater ring.

3/ Tilt was the final adjustment.

Finally, I played around with the tilt. This provided some additional improvement, but it was clearly a relatively minor factor in my case compared with backfocus and the dew-heater ring.

Overall, I’m now getting what I consider a reasonably clean and usable field across the APS-C sensor. It is certainly not perfect at the extreme edges, particularly on the right upper corner, but this is by far the best result I have obtained so far. I’ll try to further improve the field, but I’m quite happy with the result at this stage.

I hope this feedback can be useful to others struggling with a similar setup, and I’d be interested to hear about your own optimal backfocus measurements.

A warm thanks to everyone for your guidance and recommendations along the way — they have been extremely helpful.

Clear skies to all !

Well written Helpful Respectful Engaging
TiffsAndAstro avatar

Thanks for updating on your results and how you got there.

The final image stars look pretty sharp, really well done :)

Well written Respectful Supportive
Sergio Eguivar avatar

Dear Marc

Seems you are nailing the sweet spot.

Some years ago, I had the classic SCT C8 with the first starizona SCT Corrector (i still have it) I did quite a lot of imaging with a QSI 583 WS

Despite the spacing I had two things to considered which drove me crazy. That was because I had good days with stars shapes ok and other days I had similar aberrations as you described.

1st Always keep in mind when focussing to push (one direction) the primary mirror while focussing. If the focus spot was overpassed I went backwards and pushed again. The thing is the mirror had a tilt while pushing and it also had effects when you change the meridian or the inclination of the telescope, so was also wise to keep the mirror pushing in one direction to keep it steady. Kind of difficult if you are using N.I.N.A. focusing routine…

This issue was typical for classic SCT and was resolved in the HEDGE version with the locking knobs.

2nd. Give some time to cool your SCT by pointing down the telescope and letting the air (from the inside) catch the same temperature from the outside. After 20 minutes or more (probably more because you a a 9.25 “ mirror), I place the image train. I remember some guys use a fan to speed the process

This was also corrected in the new HEDGE version letting some grates in the back side for refrigeration

So these two last corrections I believe are still an issue in the classic SCT…though engineers at Celestron addressed the problem in the HEDGE version

PS

Back then I switched to Newtonians, but the truth is that i still miss the classic SCT Celestron I had… 😞

Good luck !!

Sergio

Helpful Supportive
Corentin Martine avatar

Salut Marc,

I have a similar setup, except that I'm using the color version of the 2600 on this telescope.

I'm facing the same issue with elongated stars, even though I bought the specific spacer that is supposed to provide the correct backfocus for the Starizona once you add the standard 55 mm backfocus of the ZWO components. So, in theory, I should be at 90.3 mm, yet I still get elongated stars in the corners. I usually fix them with BlurX 🫣, but I'll try shortening the imaging train as a test.

A few questions:

How do you attach your optical train? I'm using a 2" Baader ClickLock. The issue I have with it is some uncontrolled tilt. I've circled the Starizona with a parfocal ring, but even with that, I feel that the alignment of the imaging train relative to the telescope axis is somewhat random.

Out of curiosity, I saw your image of NGC 7331 (which is great, by the way). As it happens, I just imaged the same target because of the supernova. Did you crop your image? I noticed that the field of view you're covering is much smaller than mine, which could be due to the shorter backfocus. According to the AstroBin plate solve, mine is 0.88° × 0.58°, whereas yours is 0.58° × 0.37°.

Finally, regarding the dew ring: when you say to set it to the lowest power, do you mean completely off, or do you still apply a small amount of power?

Thanks!

Corentin

Well written Respectful Engaging
Marc Bonnet avatar

Corentin Martine · Sep 16, 2026, 06:16 PM

Salut Marc,

I have a similar setup, except that I'm using the color version of the 2600 on this telescope.

I'm facing the same issue with elongated stars, even though I bought the specific spacer that is supposed to provide the correct backfocus for the Starizona once you add the standard 55 mm backfocus of the ZWO components. So, in theory, I should be at 90.3 mm, yet I still get elongated stars in the corners. I usually fix them with BlurX 🫣, but I'll try shortening the imaging train as a test.

A few questions:

How do you attach your optical train? I'm using a 2" Baader ClickLock. The issue I have with it is some uncontrolled tilt. I've circled the Starizona with a parfocal ring, but even with that, I feel that the alignment of the imaging train relative to the telescope axis is somewhat random.

Out of curiosity, I saw your image of NGC 7331 (which is great, by the way). As it happens, I just imaged the same target because of the supernova. Did you crop your image? I noticed that the field of view you're covering is much smaller than mine, which could be due to the shorter backfocus. According to the AstroBin plate solve, mine is 0.88° × 0.58°, whereas yours is 0.58° × 0.37°.

Finally, regarding the dew ring: when you say to set it to the lowest power, do you mean completely off, or do you still apply a small amount of power?

Thanks!

Corentin

Hi Corentin,

Yes, I cropped the image, but only for framing purposes. The goal was not to exclude bad stars in this case. I also stretched the stars quite a bit in this image — probably a little too much.

With the issues I was facing and the many tests required, I switched to a Baader ClickLock, and I really like it. Before that, I had a fully threaded imaging train, but I wasn’t able to easily adjust its orientation, and I frequently had issues with threaded adapters getting locked together.

Of course, the Baader ClickLock may introduce a little more tilt, but in my case I would say that 95% of the problem was related to backfocus rather than tilt.

I don’t know if this will help, but with the ClickLock threaded onto the SCT and the Starizona inserted into the ClickLock, my Celestron focuser position is around 29,200 steps. I’m not sure how reproducible this value is from one C9.25 to another, though.

My imaging train is described above if you want to try a similar backfocus. I’d be very interested to know whether shortening yours improves your field as well. I shortened mine progressively, roughly millimeter by millimeter, checking the stars after each adjustment until I was satisfied with the result.

Regarding the dew heater ring, this is something I noticed only recently. Here is a picture showing the spike I was getting. It was asymmetrical — extending in one direction only, towards the center — and particularly prominent in the upper-right corner (no issue on the left side of the frame). It completely disappeared when I turned the dew heater down to 20% on the PPBADV. So I think the heater is still perfectly usable, but you may want to check for this kind of artifact and keep the power as low as possible.

Spike1jp.jpg

📷 Spike1jp.jpgSpike1jp.jpgHope this helps, and good luck optimizing this fantastic setup. Don’t hesitate to keep me updated if you try shortening your backfocus!

Well written Helpful Engaging
A.Zanussi avatar

I’ll keep this brief, as I am using a translator.

1) Perfect collimation is crucial, as the Starizona is very sensitive; I use MetaGuide.

2) The 90.3 mm back-focus isn't always the ideal setting.

With my classic C8, I get better results at 87 mm or less, achieving an effective focal length of 1470 mm.

3) Watch out for tilt; in my case, it was variable, even though all connections were threaded.

I discovered that the primary mirror locking ring was slightly loose.

4) As others have suggested, it is best to finish focusing by turning the knob counter-clockwise.

This optimizes performance, although on a C8, you cannot cover the entire APS-C frame. However, this isn't a major issue, since some cropping is usually necessary if images taken across multiple sessions aren't perfectly aligned.

A C9.25 will yield better results thanks to its superior native corrected field.

Thoughts:

I use the Starizona to achieve a more favorable f-ratio and sampling for the IMX571 sensor—not to get a wider field of view, since my subjects are mostly planetary nebulae and galaxies, where SCTs excel.

I view the excess uncorrected field as a bonus for aligning multiple sessions; furthermore, for objects 30 arcseconds or smaller in size, I actually crop even the corrected field to give the final image a better perspective.

Well written Helpful Insightful Respectful Engaging