


(This post is meant to be purely informational!)
RC Astro has just released a new version of BlurXterminator (the ML5 model), the showcase images may look exciting at first, but I think it’s important to take a closer look at what the tool is actually doing to your data:
Below are a few comparison between the examples posted in the RC Astro post about the new model being released (more specifically, the “Faint background galaxies near NGC 1097” images from the “Faint fuzzies” section) and a sky survey available at https://www.legacysurvey.org/viewer
The sample I’m going to show you can be found around these coordinates: Ra: 41.5485 Dec: -30.1851
You can locate it pretty easily by using the Jump to object field in the bottom left on the website, typing in “NGC 1097”, then locating this “Y shape” group of galaxies that can be seen roughly in the middle of the original image, going up at around the 1 o’clock position from NGC 1097.
📷 The location of the image relative to NGC 1097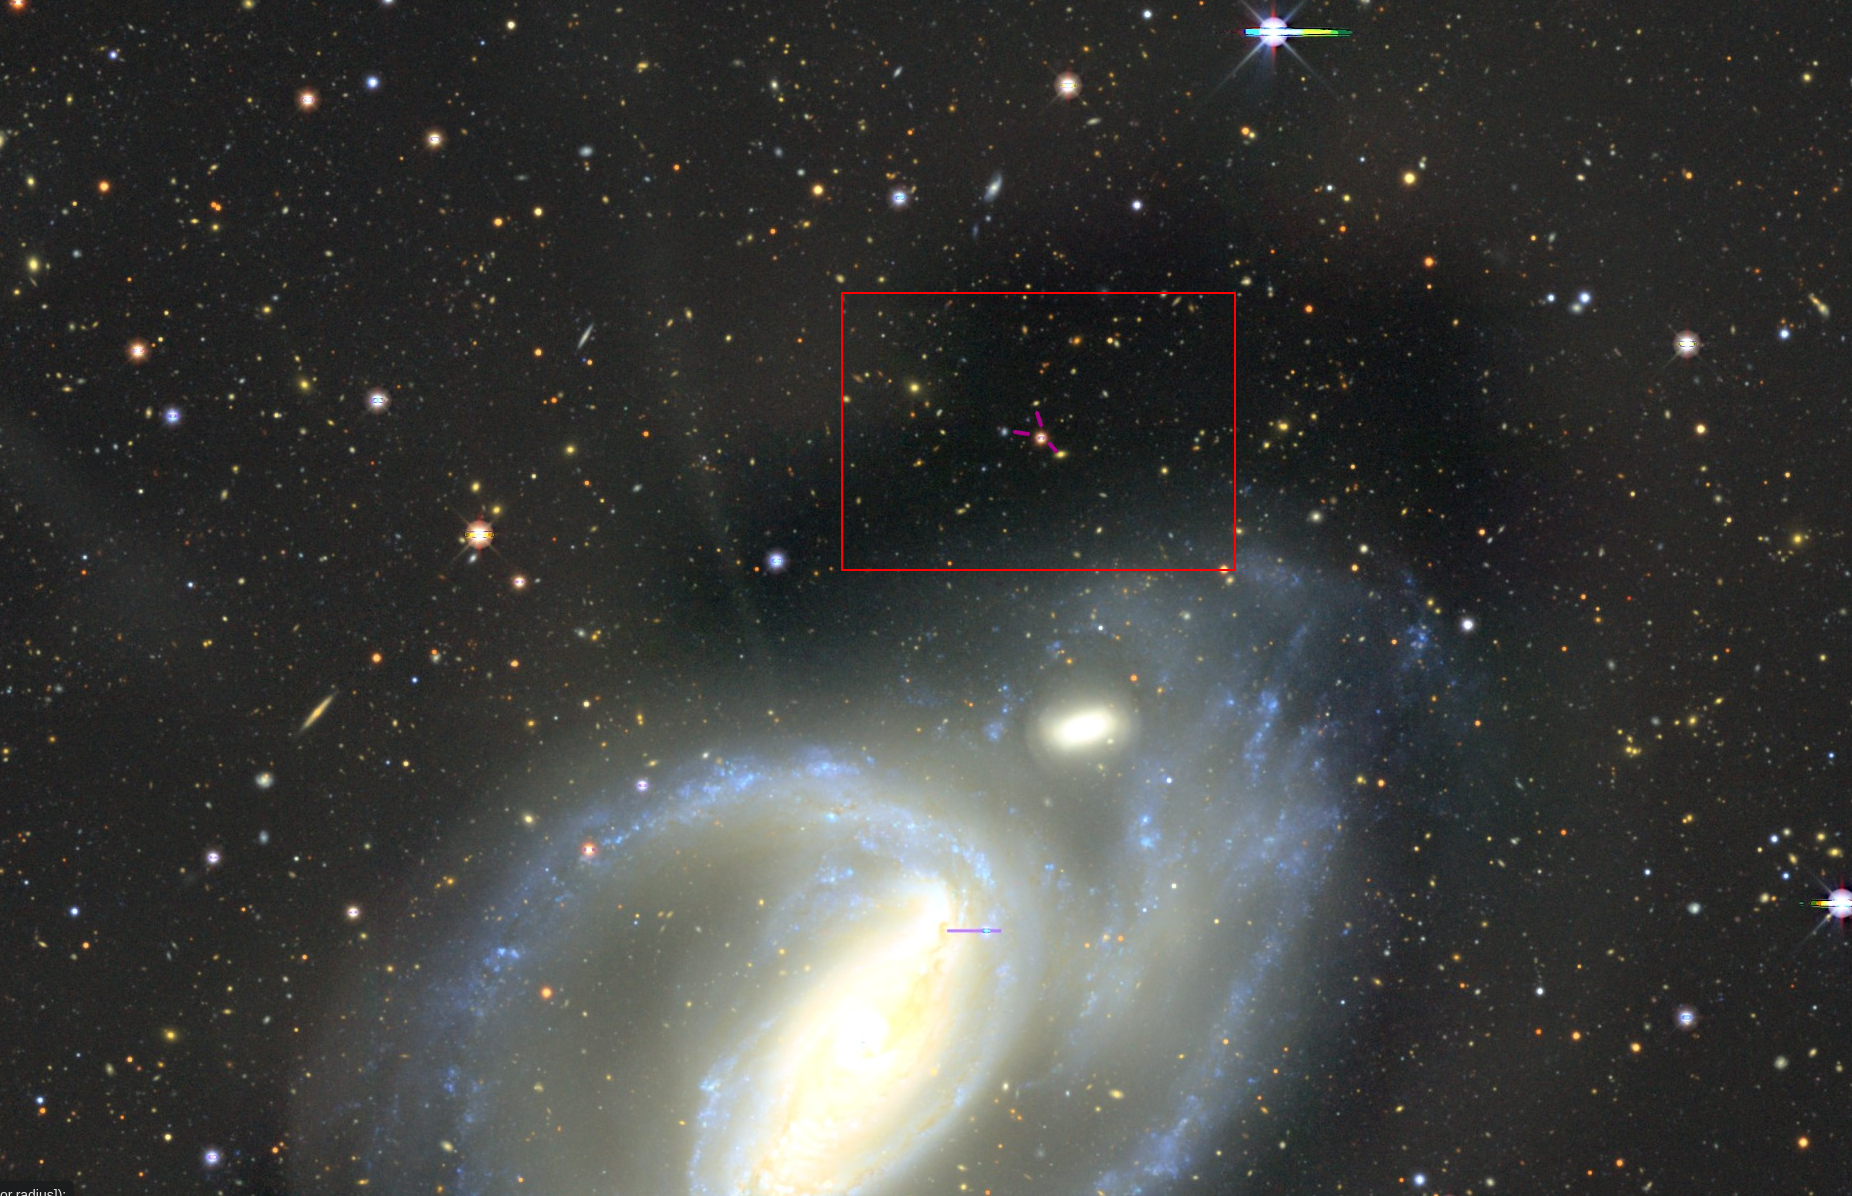
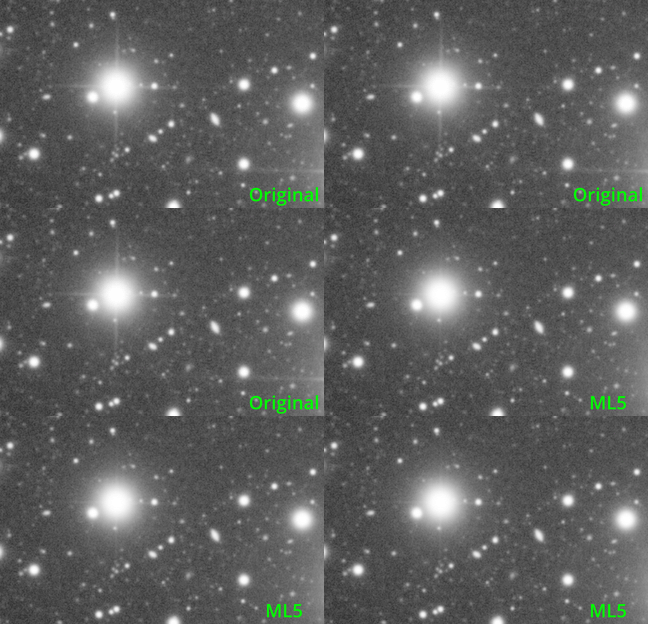
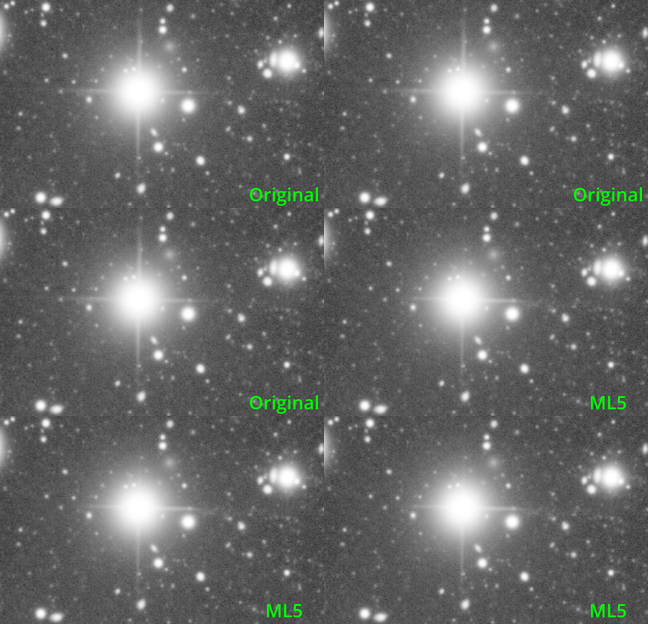
The four images - the original, the ML4 (old blurX) sharpened image, the ML5 (new blurX) sharpened image, and a screenshot of the sky survey were all loaded into PixInsight. Then, a DynamicAlignment process was used with the Original image as the source and the Survey image as the target, thus matching the Survey screenshot to the same framing and pixel scale as the other images. They were arranged in a grid in PixInsight’s interface (Original in the top left, Survey in the top right, ML4 in the bottom left and ML5 in the bottom right), the views were “binded together” to display the same zoom/position on all four views.
📷 full framing, 1:1 scale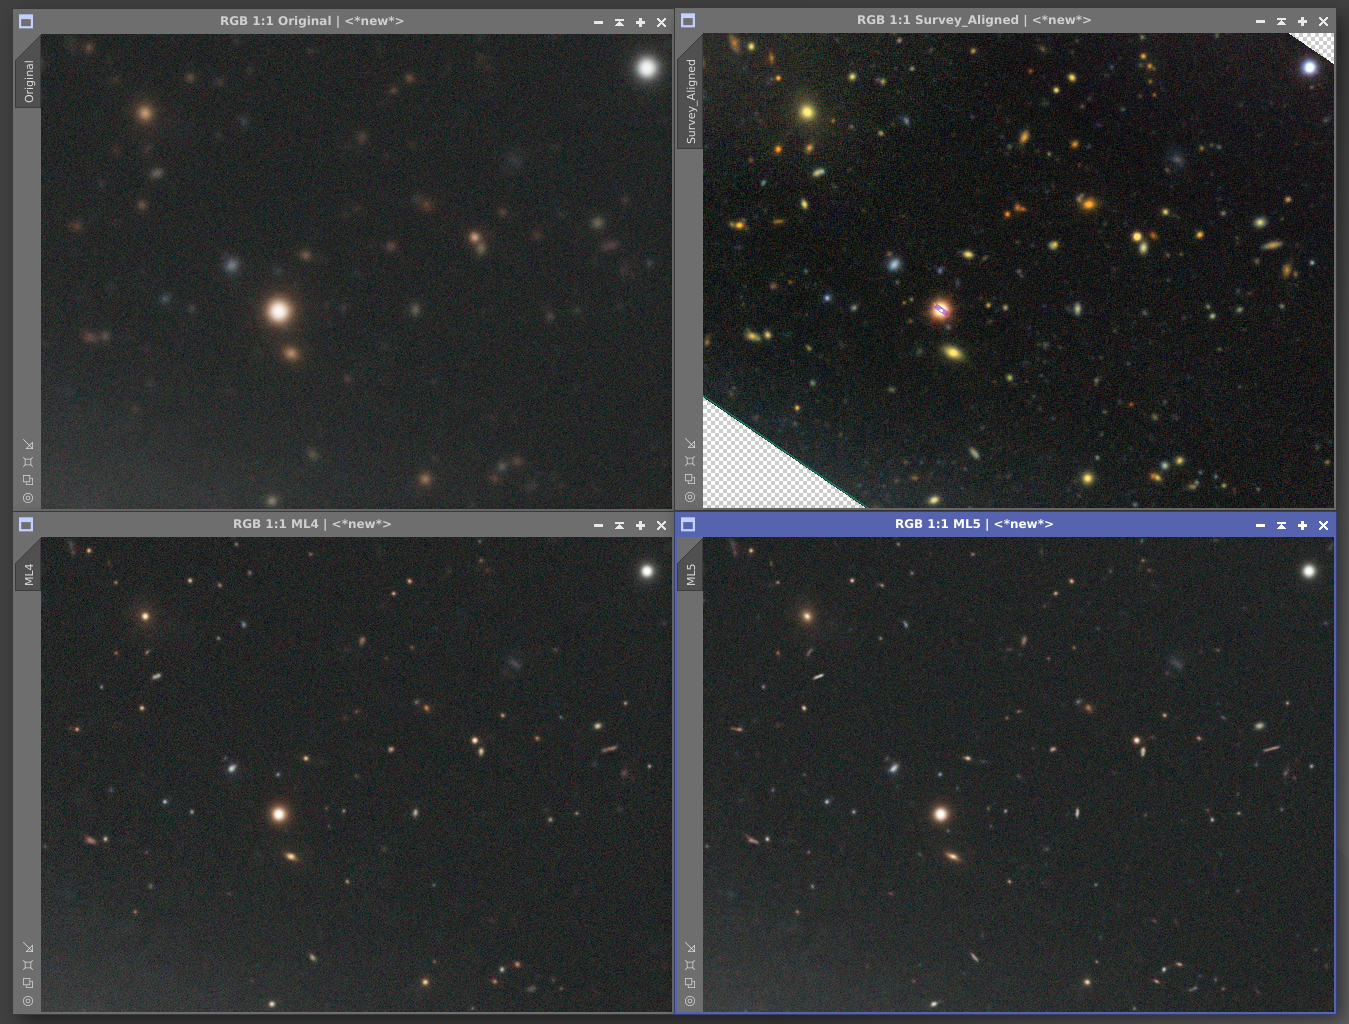 📷 zoom on a galaxy group on the right
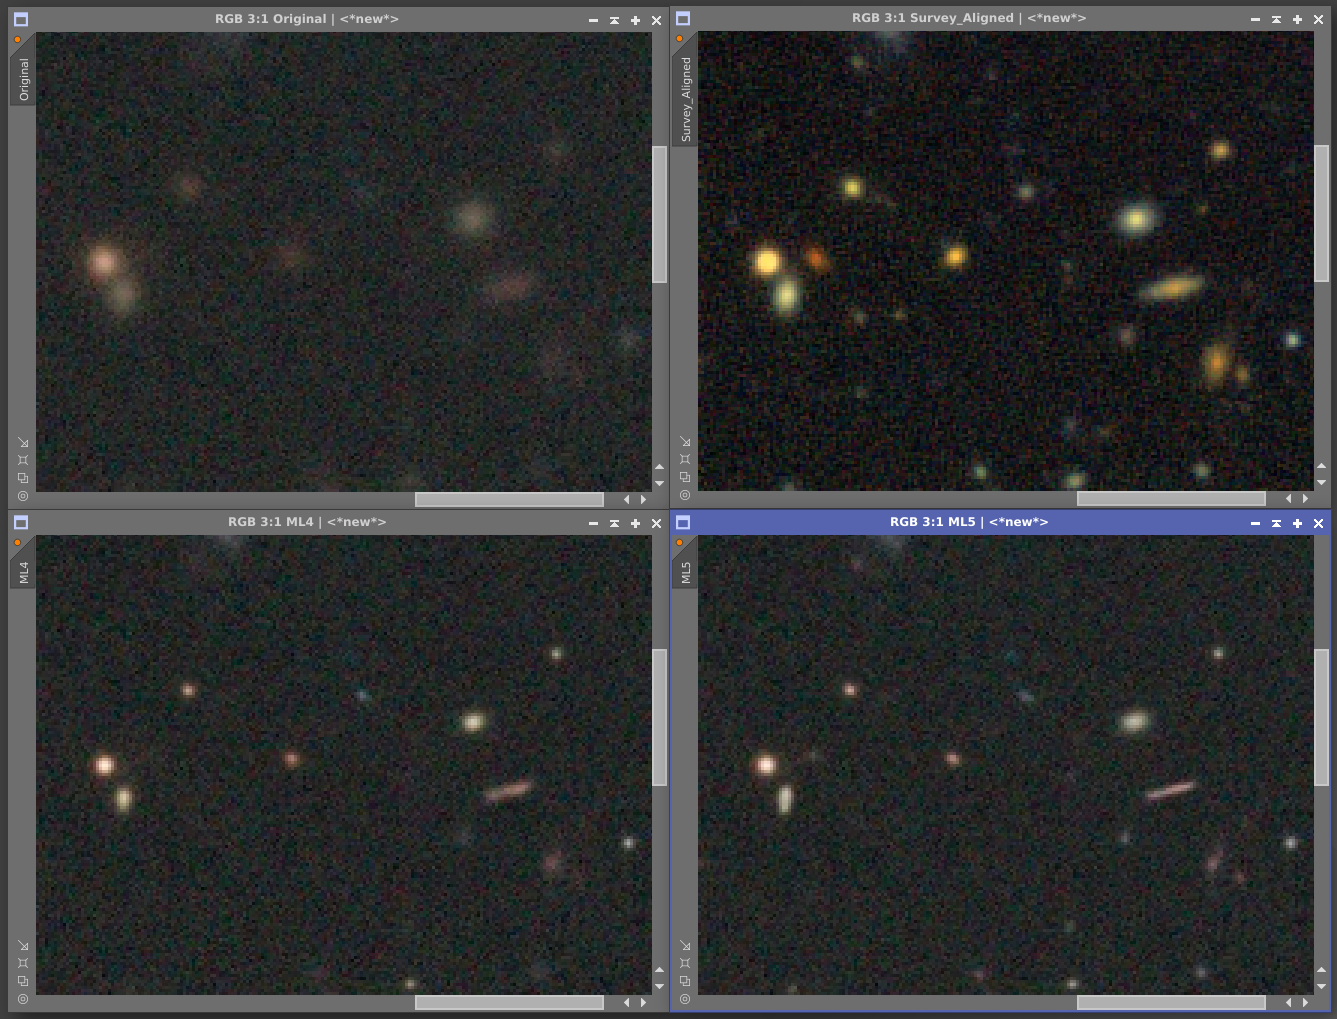 📷 zoom on some galaxies on the left
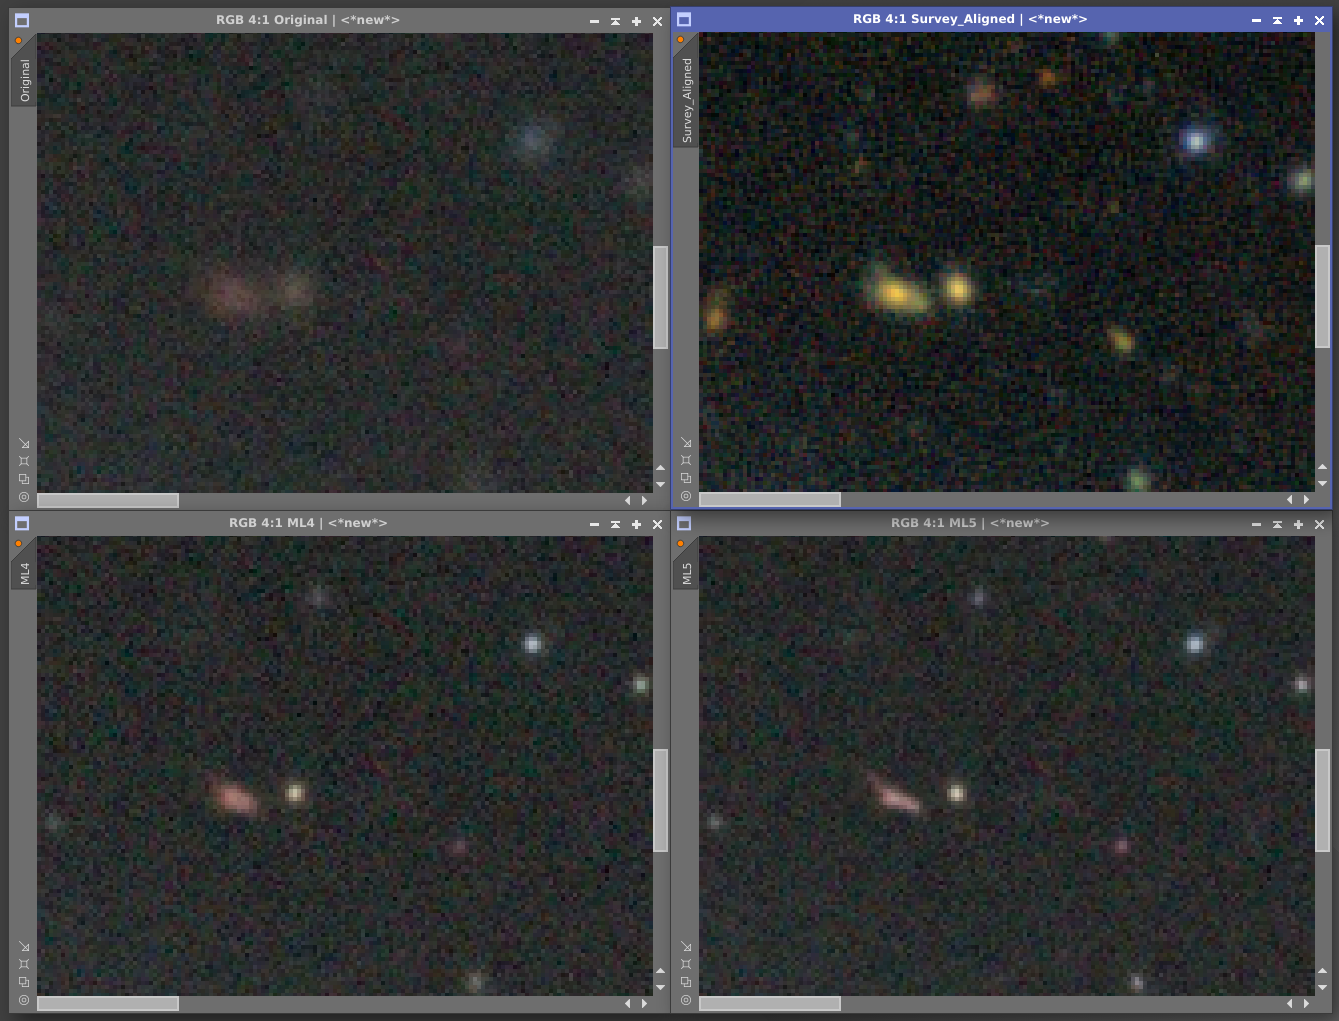 📷 zoom on the central bunch of galaxies
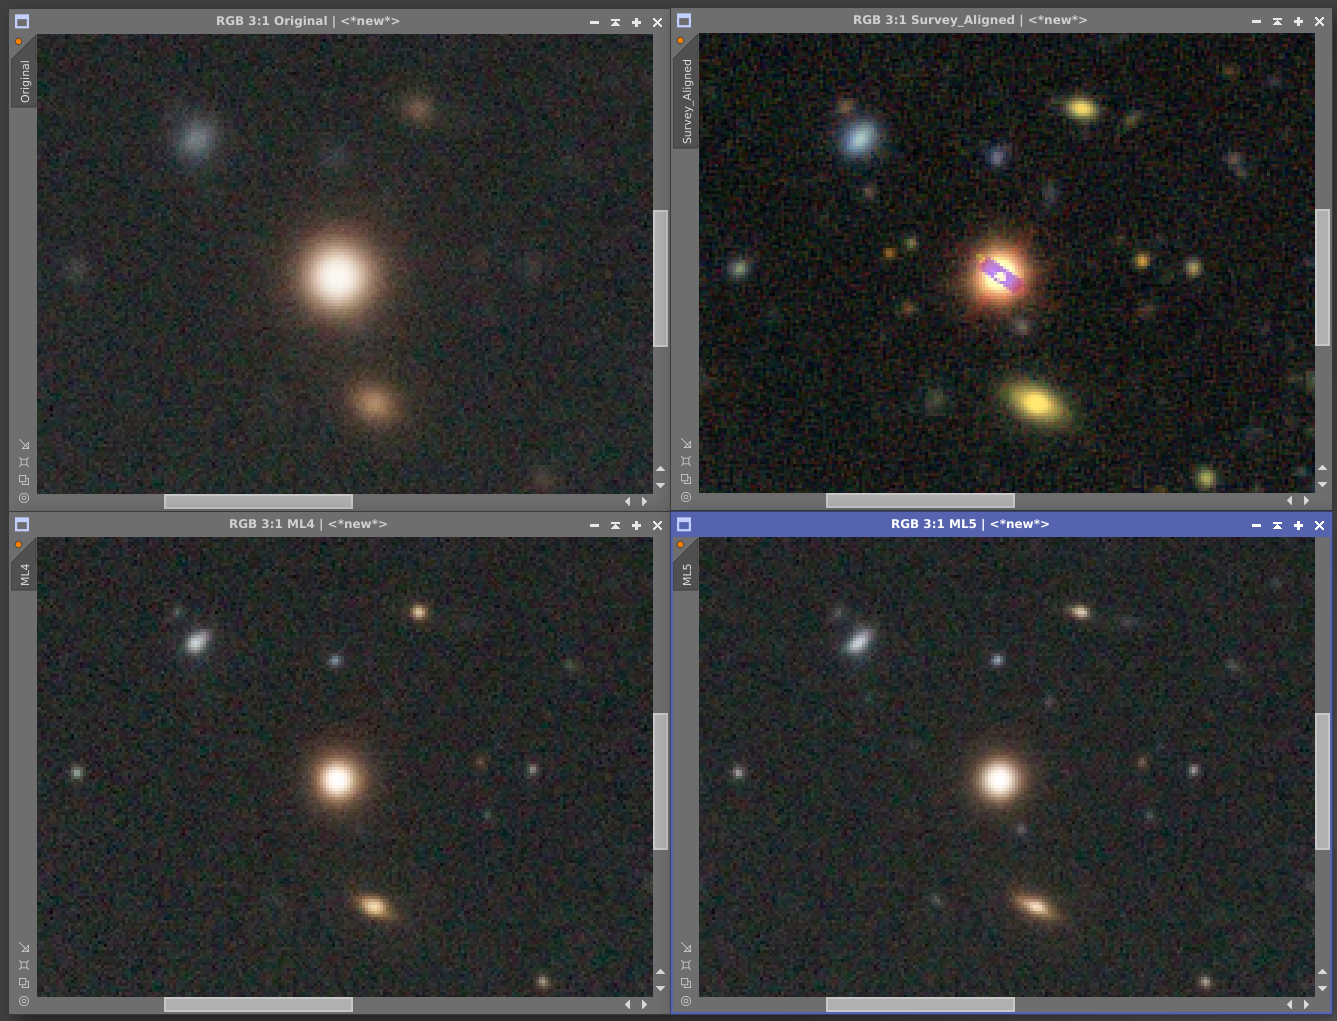 📷 zoom on some galaxies in the top left
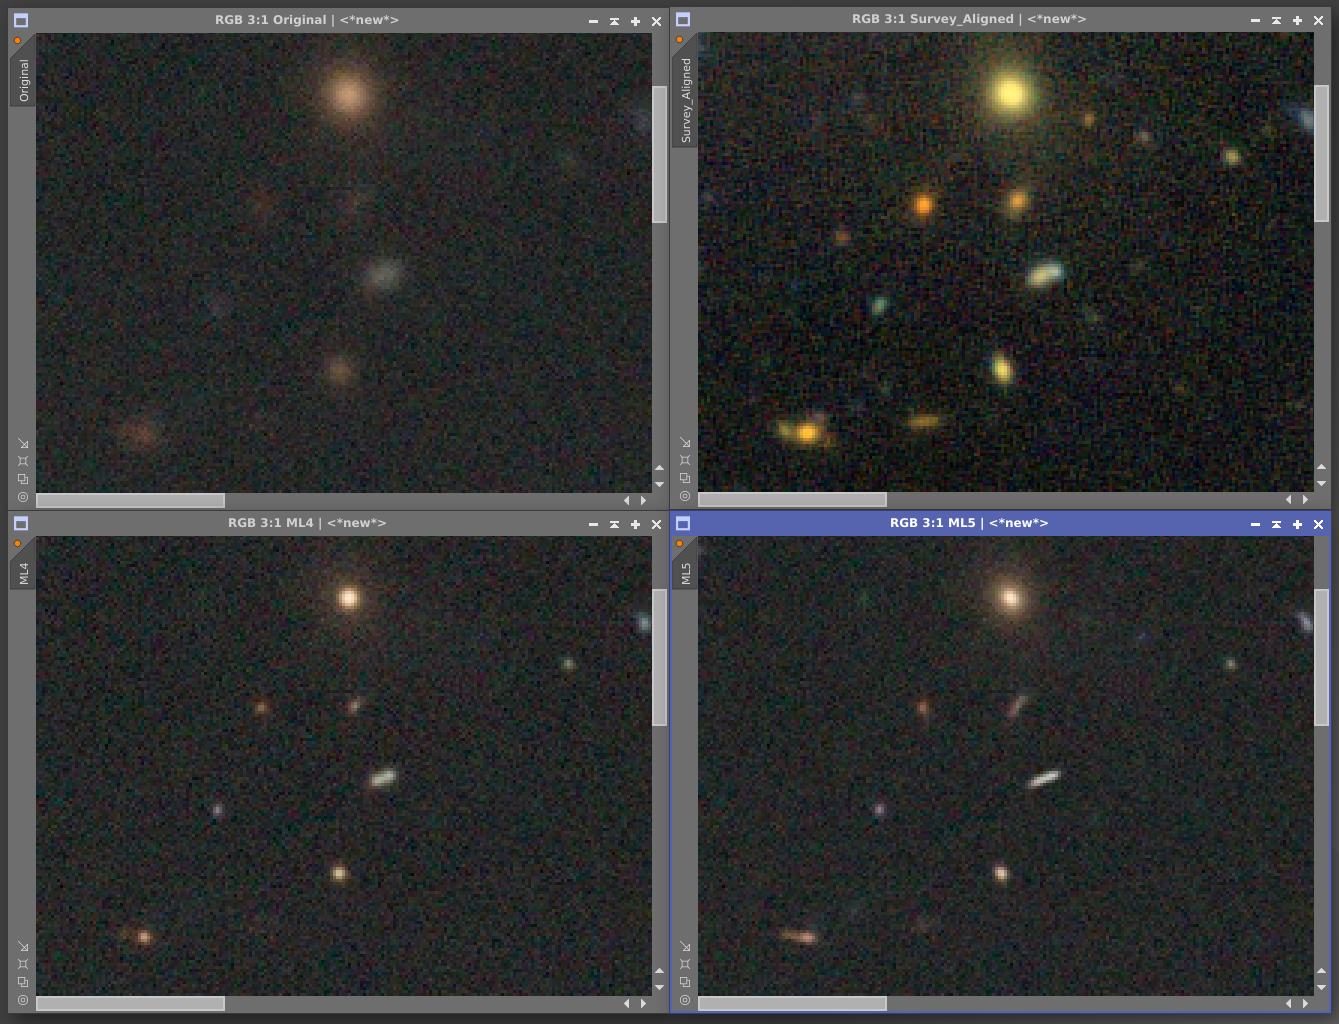 📷 zoom on some galaxies in the bottom right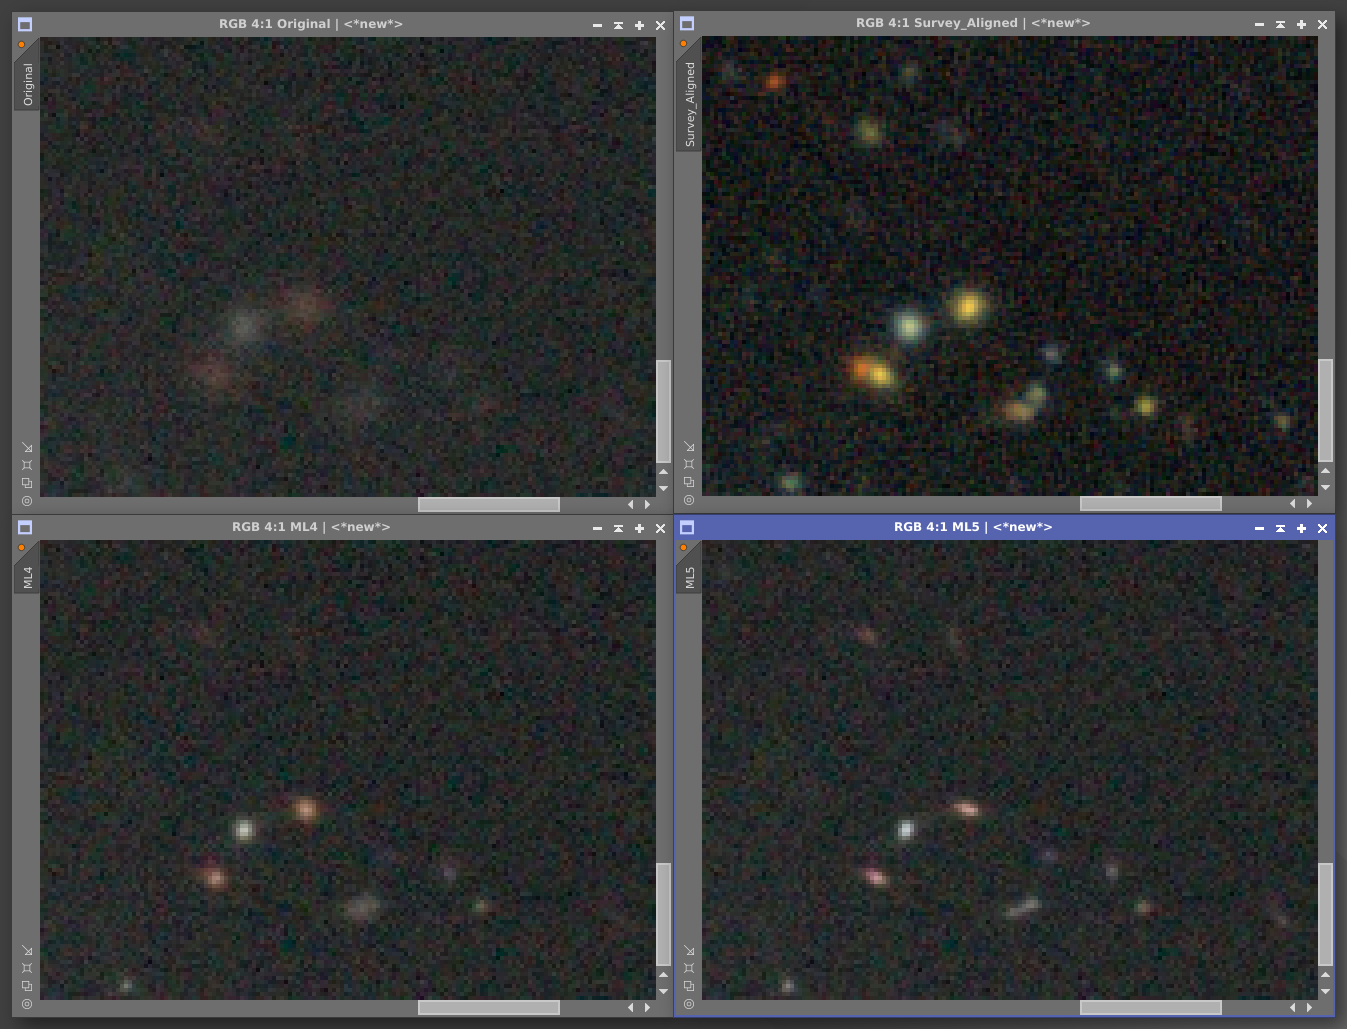
The aim of this post is purely informative, I will let you come to your own conclusions :)
In my opinion however, the results of the new ML5 model stray quite far from the real structures - the shapes of many of those galaxies are almost completely different from reality, the model appears to “make up” a lot that isn’t actually in the captured image and guess wrong.
The previous ML4 version, by my eye, appears to produce results somewhat closer to reality (particularly noticeable in the last two images), however that one too seems to not get stuff quite right sometimes - in my opinion it is far less egregious though and much more in the realm of being ‘fine’. It is important to keep in mind though that maybe it’s worth it to keep blurX settings a bit lighter the next time you process something :)
The only image to really stay properly true to the survey data is of course the original image - it is however quite lacking in sharpness and signal of course.
Personally I have a pretty open approach to art - if you like blasting your images with sharpening, “cooking” or “frying” them, or whatever else - whether you make ‘conventionally good’ images or ‘weird’ images, go ahead!
But, since this hobby is Astrophotography and our aim is usually capturing real images of the sky - the ‘realness’ of the captured data is quite important to a lot of imagers. I think a lot of people don’t realize how certain tools (and I don’t mean just blurX/RCAstro tools!) can put things quite far from both the actual image that they captured and what’s in the sky itself.
I feel like a lot of people tend to think that tools such as BlurXterminator will always keep true to their data and are simply straight-up improvements or fixes without compromises - and sometimes these tools do help a lot! But it’s important to keep in mind they can produce results that simply don’t match reality, particularly when pushed too hard (which I feel like a lot of people unintentionally do, unfortunately :/) and to look out for things that may be going wrong :)
Very often a more tasteful, ‘held back’ coat of BlurX can look better and be more true to reality than pushing for maximum detail :)
I hope you found this post helpful and informative!
Clear skies! ❤️


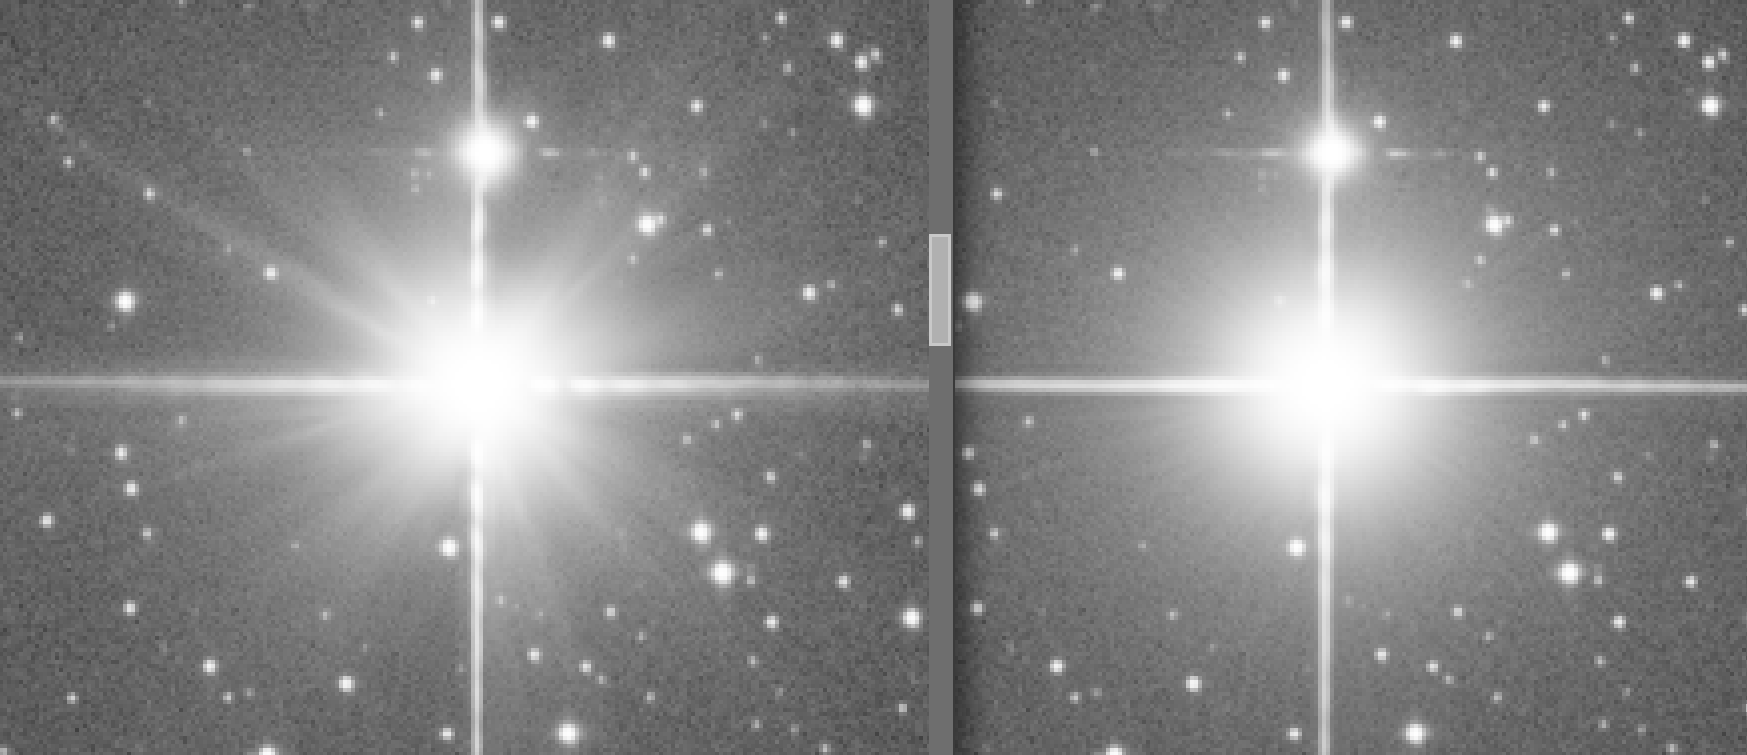


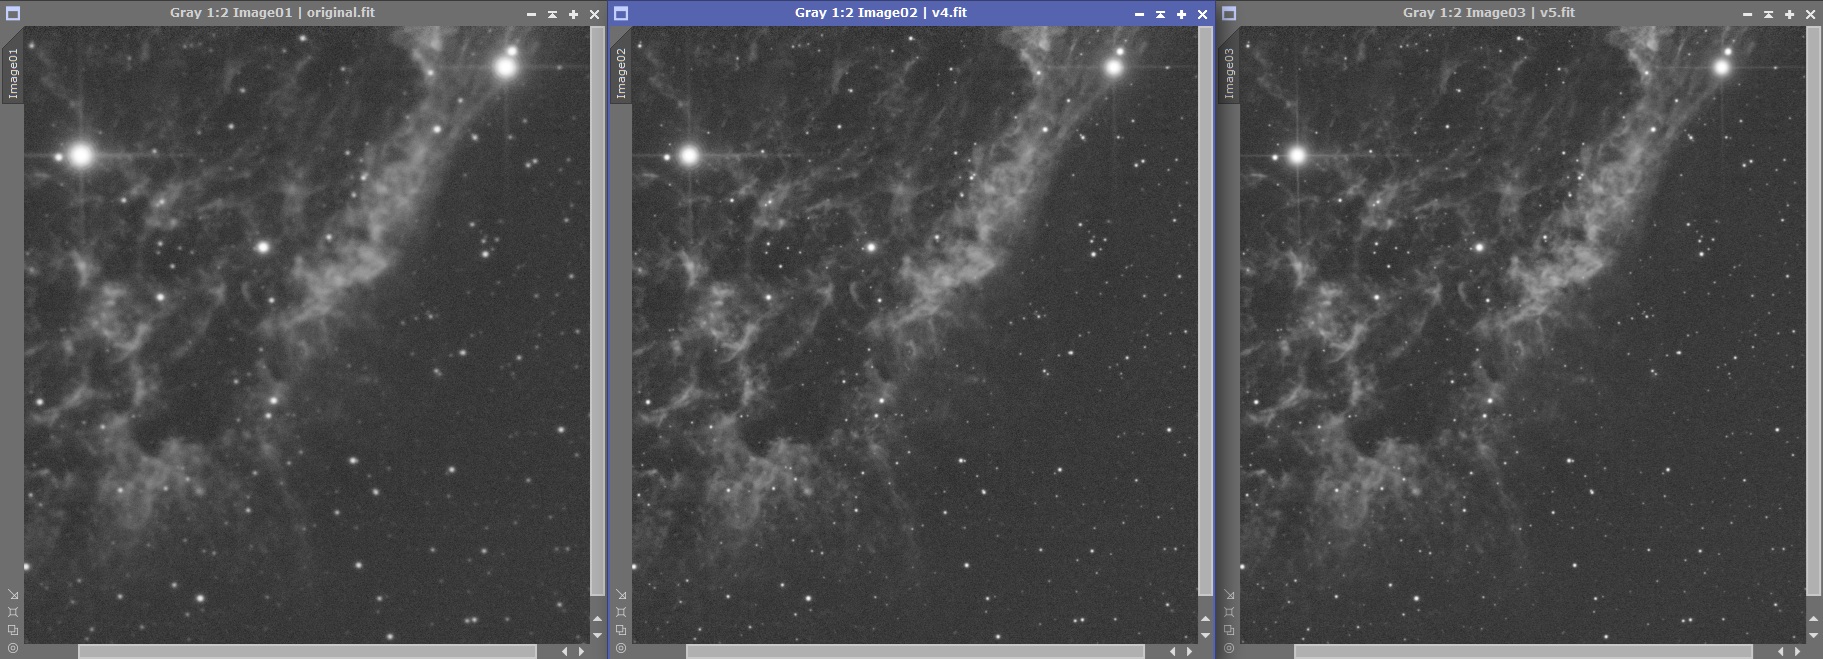
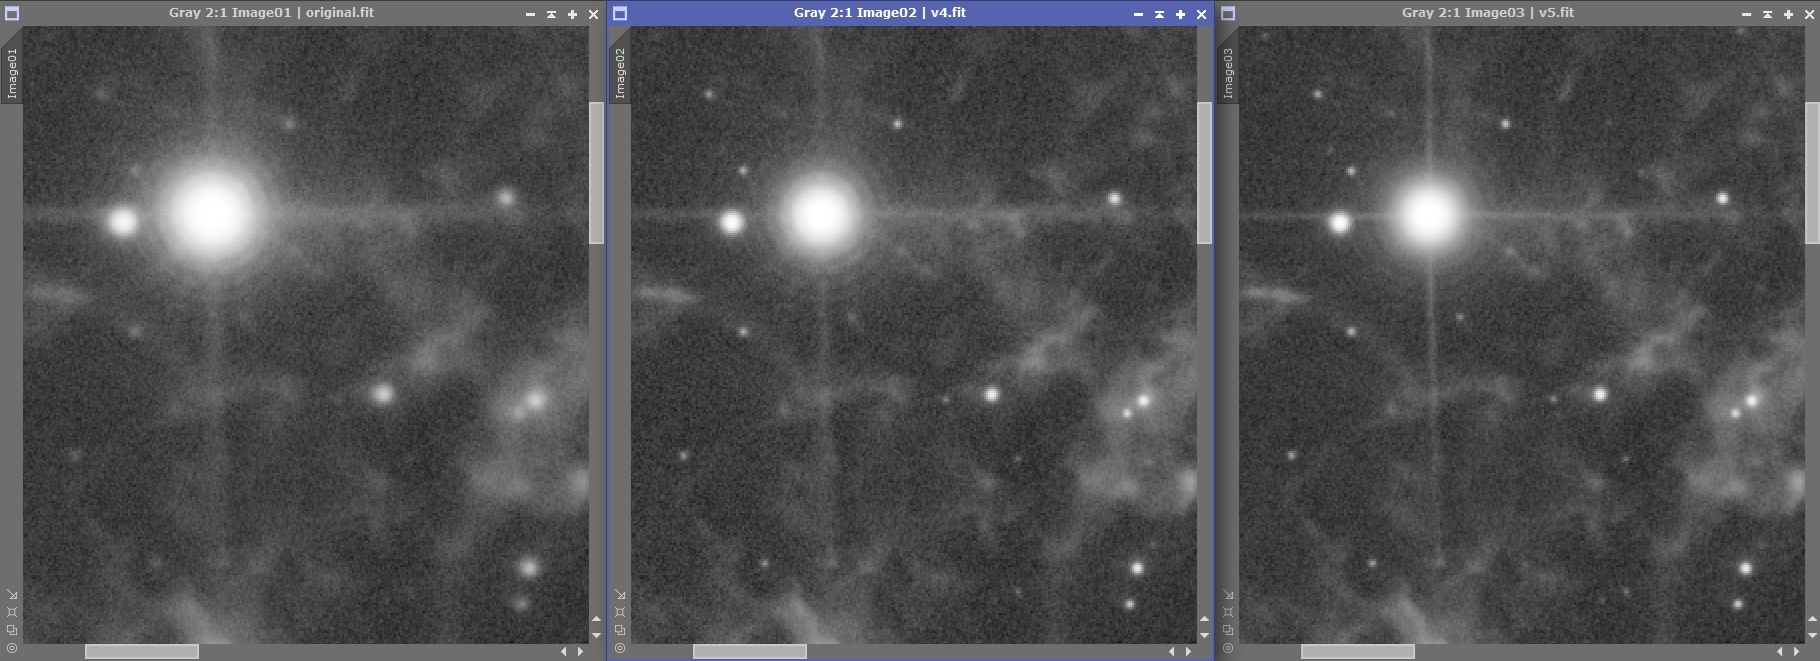

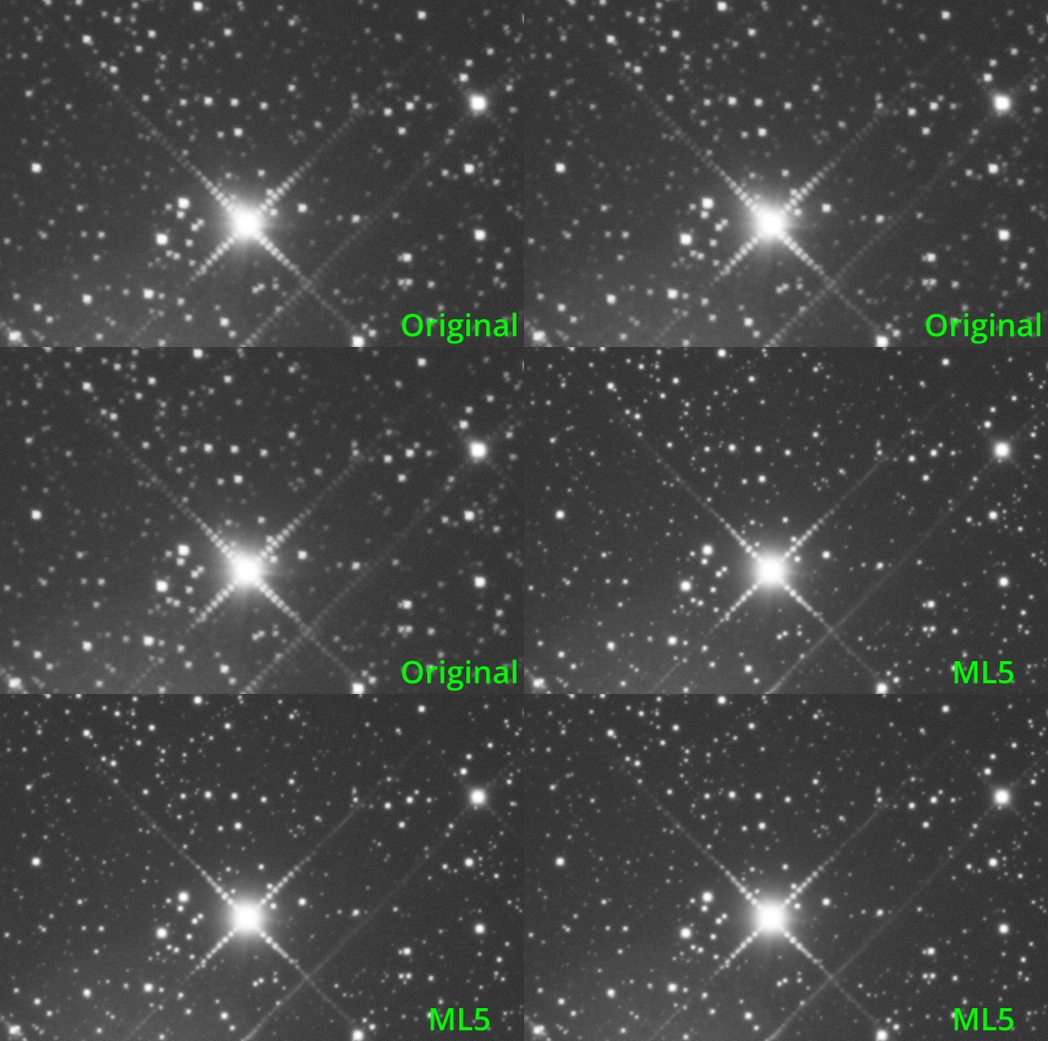
 In this part of the image, it shifts the spikes around:
 In this region, it slightly dims the spikes…
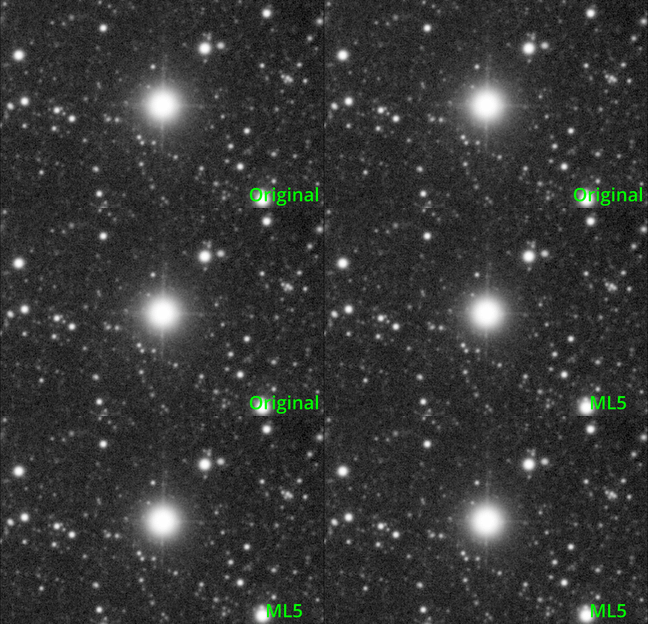 While making them brighter in another.
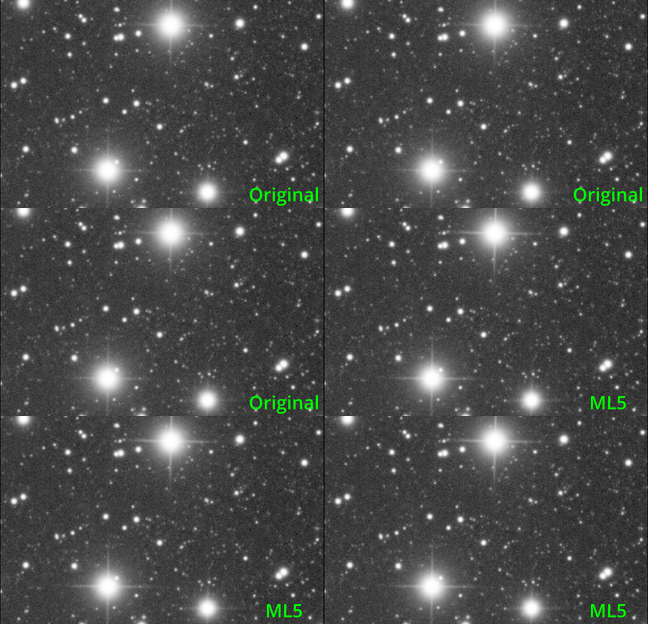 Here it does the same but only for the horizontal spikes:
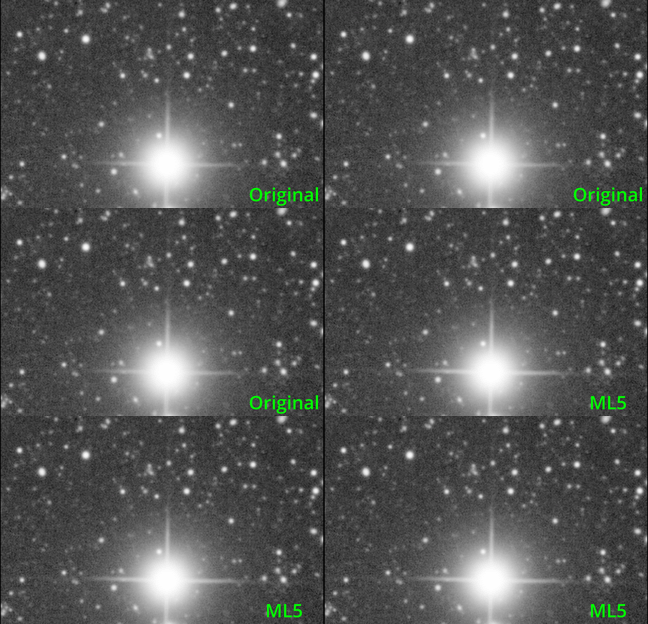 And finally it leaves them more or less alone here: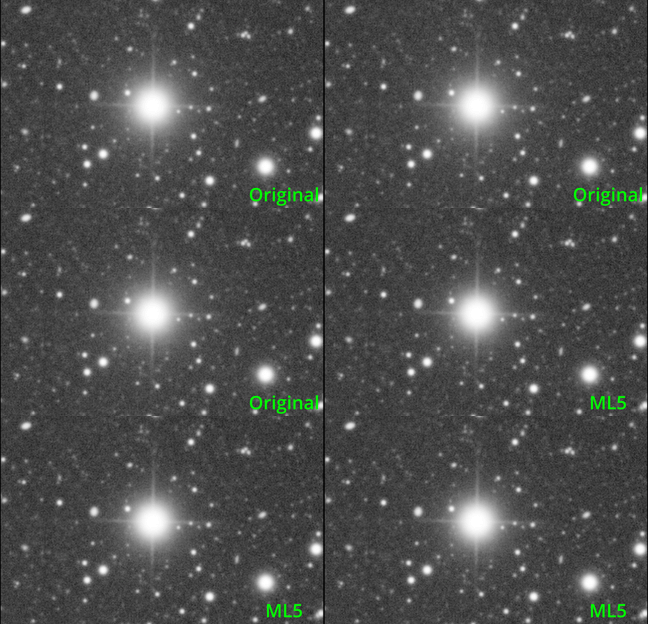
 Here on an RGB image it changed the spikes completely again - different interference frequency and different colors: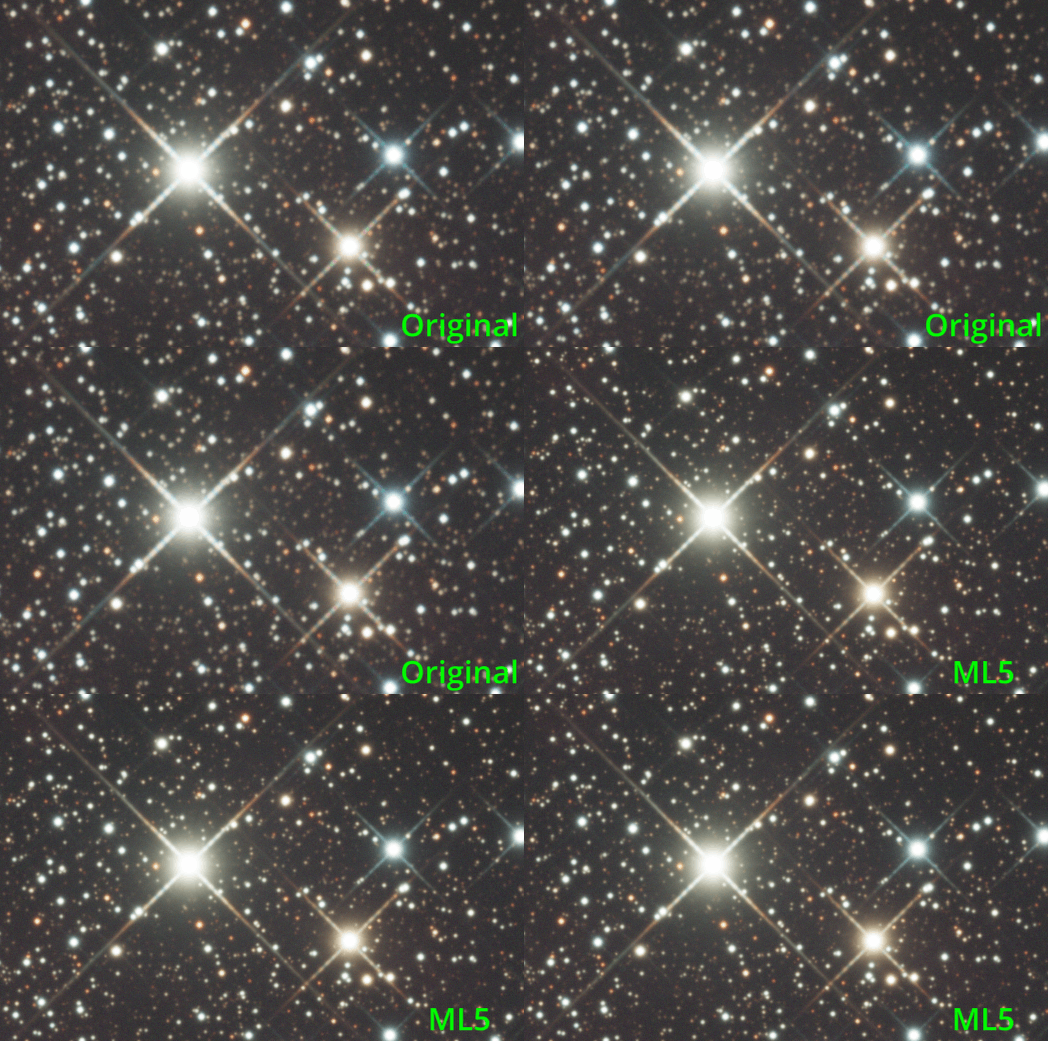
 You are correct, it is not generative, but you’re the only one in this thread who used that term anyway.